FaceSwap 是一个利用深度学习来识别图片和视频中的人脸,并进行变换人脸的工具。

Artificial Intelligence / Reverse Engineering / Internet of Things / Full Stack Developer
FaceSwap 是一个利用深度学习来识别图片和视频中的人脸,并进行变换人脸的工具。

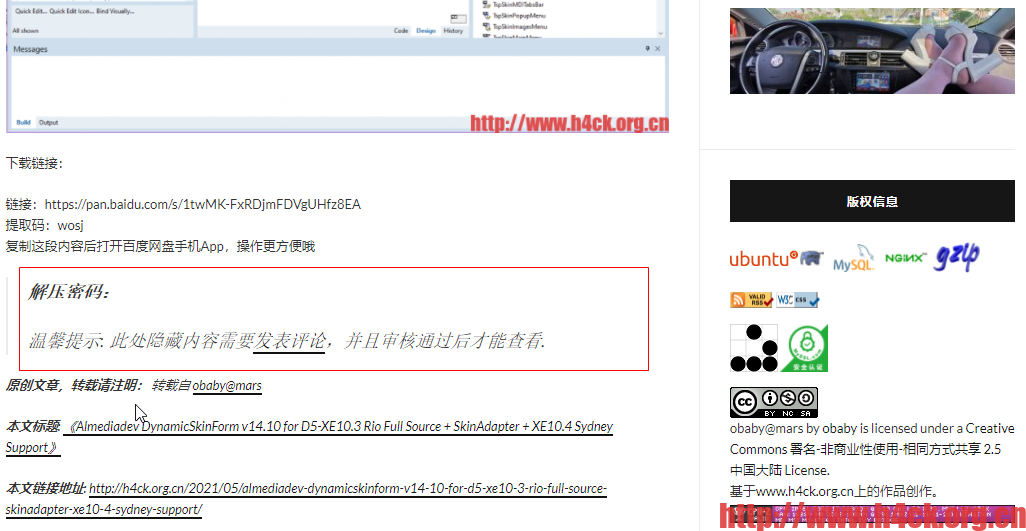
网上随便搜了一下,发现这个功能的文章基本都是抄来抄去抄的。我也抄了一份发现不大好用,因为发表评论之后看了一下发现根本没有cookie信息。如果要使用这个功能首选需要开启下面的选项:


当你在凝视深渊的时候,深渊也在凝视着你 -- 尼采《善恶的彼岸》
什么是网络色情?严谨的定义就是:凡是网络上以性或人体裸露为主要诉求的讯息,其目的在于挑逗引发使用者的性欲,表现方式可以是透过文字、声音、影像、图片、漫画等。
互联网萌芽年代 邮件传输——当时在大学科研院所以及一些公司,已经有人通过软盘、邮件来传输一些来自台湾、日本的纯色情文字。
互联网普及年代 搜索引擎之SEX和XXX搜索——有了搜索引擎,给网络色情的中国的发展带了巨大的发展。96年的YAHOO,97年国内的SOHOO,其搜索结构中,SEX和XXX主体字的搜索占了很大的比例。
互联网发展年代 个人主页、情色电影、明星图片、性爱课堂、色情文学
个人网站初期,色情的躲避和小范围传播:98年,国内的碧海银沙和网易推出了免费申请的个人主页空间,网络用户大量增加。当时的政策是,一旦发现某个个人网站中有色情成分,如果被空间提供商发现,就会停止器个人空间,如果被公安局发现,就会连带影响到整台服务器。 门户网站的边缘内容从情色电影、明星图片到性爱课堂:99年国内开始出现门户的概念,以大内容吸引更多网民访问的网站,已经主动提供了一些可算可不算色情的内容,比如提供情色电影海报,介绍等,特别是各种明星图片。

为了能够正常访问google进行搜索,之前一直用的ssh转socks代理。后来觉得如果s2主机只用来做代理,有点浪费了。于是就想了干脆反向代理一个google搜索。网上相关的文章比较多,随便搜索一下就可以找到相关的代码。基于nginx的主要配置代码如下:
proxy_cache_path /tmp/accounts levels=1:2 keys_zone=cache:10m max_size=10g inactive=60m use_temp_path=off;
server {
        server_name h4ck.ws;
        location / {
      proxy_redirect off;
      proxy_cache cache;
      proxy_cache_valid   200 304 12h;
      proxy_cache_valid   any 10m;
      proxy_cookie_domain google.com h4ck.ws;
      proxy_pass https://www.google.com;
      proxy_connect_timeout 20s;
      proxy_read_timeout 600s;
      proxy_send_timeout 600s;

      proxy_set_header Host "www.google.com";
      proxy_set_header User-Agent $http_user_agent;
      proxy_set_header Referer https://www.google.com;
      proxy_set_header Accept-Encoding "";
      proxy_set_header X-Real-IP $remote_addr;
      proxy_set_header X-Forwarded-For $proxy_add_x_forwarded_for;
      proxy_set_header X-Forwarded-Proto https;
      proxy_set_header Accept-Language "zh-CN";
#     proxy_set_header Cookie "PREF=ID=047808f19f6de346:U=0f62f33dd8549d11:FF=2:LD=zh-CN:NW=1:TM=1325338577:LM=1332142444:GM=1:SG=2:S=rE0SyJh2W1IQ-Maw"; #这行代码可能会导致google监测到流量异常
      sub_filter https://www.google.com https://h4ck.ws;
      sub_filter https://www.google.co.jp https://h4ck.ws;
      sub_filter_once off;
      addition_types *;
  }
}
RTSP(Real Time Streaming Protocol),RFC2326,实时流传输协议,是TCP/IP协议体系中的一个应用层协议,由哥伦比亚大学、网景和RealNetworks公司提交的IETF RFC标准。该协议定义了一对多应用程序如何有效地通过IP网络传送多媒体数据。RTSP在体系结构上位于RTP和RTCP之上,它使用TCP或UDP完成数据传输。HTTP与RTSP相比,HTTP请求由客户机发出,服务器作出响应;使用RTSP时,客户机和服务器都可以发出请求,即RTSP可以是双向的。RTSP是用来控制声音或影像的多媒体串流协议,并允许同时多个串流需求控制,传输时所用的网络通讯协定并不在其定义的范围内,服务器端可以自行选择使用TCP或UDP来传送串流内容,它的语法和运作跟HTTP 1.1类似,但并不特别强调时间同步,所以比较能容忍网络延迟。而前面提到的允许同时多个串流需求控制(Multicast),除了可以降低服务器端的网络用量,更进而支持多方视讯会议(Video Conference)。因为与HTTP1.1的运作方式相似,所以代理服务器〈Proxy〉的快取功能〈Cache〉也同样适用于RTSP,并因RTSP具有重新导向功能,可视实际负载情况来转换提供服务的服务器,以避免过大的负载集中于同一服务器而造成延迟。
在旧版的chrome上可以通过vlc插件来播放rtsp视频,但是更新到新版的chrome之后要想播放这个rtsp的视频就变得比较麻烦。如果google一下就会发现有各种解决方案,但是这些方案基本都是收费的。另外一个做法就是通过ffmpeg或者vlc播放器进行协议转换,如果是单个视频流可以通过vlc进行转换,转成http协议,直接通过video标签进行播放即可。但是如果要处理的视频流比较多,那就比较麻烦了。可以通过nginx+ffmpeg进行转换。
illuspas封装了一个支持rtmp协议的nginx,https://github.com/illuspas/nginx-rtmp-win32,下载之后直接运行nginx即可启动服务。
